Git
This is a short cheatsheet on VSCode source control usage. Feel free to use Git CLI if you already have experience or want to learn it. Full guide on VSCode source control can be found here.
Structure
A Git project is called a repository
Github is a Git platform for hosting Git projects online
Inside a repo, you can create branches
Typically, the
mainormasteris used in productionEach branch contains a list of changes called commits
Each commit contains changes to files and a message
All commits are created locally; you need to do a push to upload them to Github
To download changes, do a pull
To update your list of branches, do a fetch (VSCode has an option to do this automatically)
You can dublicate branches, work on them separately, and merge them back together
This allows everyone to work on different features independently without breaking things
Cloning
Cloning is downloading a repository
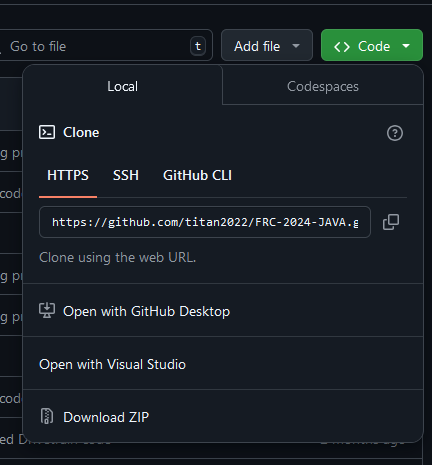
First, click on green Code button and copy the HTTPS link
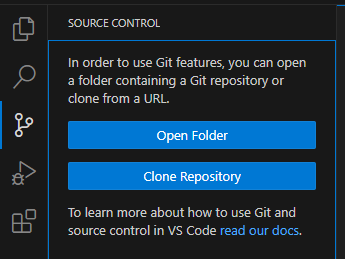
Second, go to VSCode source control tab and click clone
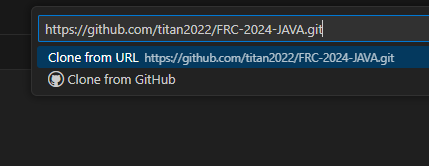
Paste your link and press enter
Select a folder to save the project in
Open the same folder next time to open the project
Please don’t clone the repo every time you want to work on it!
Committing
First, make the changes you want to make
Go to source control tab and press
+for all files you want to include in your commitWrite a message (a description) for your commit (this step is required)
You can press
-for files you want to remove from your commitOnce you are ready, press commit button
Pushing & Pulling
After committing, you need to push
You can click VSCode’s blue “sync” button, which will push and pull at the same time
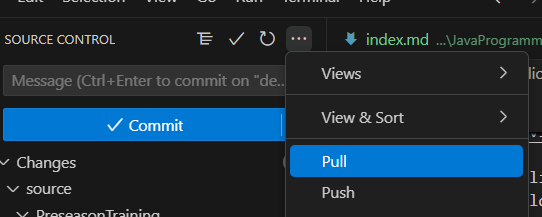
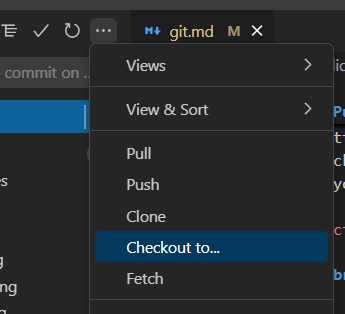
Otherwise, you can click on additional actions and click push or pull
Switching branches
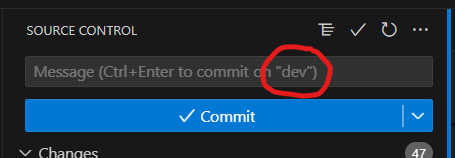
To check which branch you are on, view the message input bar
Click on addional actions and click “checkout to”
Select or create your branch
Any branches starting with
origin/will automatically pull from Github
Merging
Go to the same additional actions menu and select Branch > Merge
Select which branches to merge from and to
Always remember to notify other programming members before merging to avoid conflicts
If a merge is a particularly big change, use pull requests instead
Try to avoid merge conflicts by only working on specific files in one branch